
Indulge Your Senses with Irresistible Homemade Chocolate Truffles
Chocolate. The very word conjures images of rich, decadent indulgence. And when it comes to pure chocolate bliss, few treats can rival the exquisite simplicity and intense flavor of a perfectly crafted chocolate truffle. If you’re ready to embark on a culinary adventure that tantalizes your taste buds and leaves you craving more, then you’ve come to the right place. This blog post is your passport to mastering the art of homemade chocolate truffles, a journey that will transform you from a chocolate enthusiast into a true truffle aficionado.
Introduction
My love affair with chocolate truffles began in my grandmother’s kitchen, a haven of warmth, laughter, and the intoxicating aroma of baking. I can still vividly recall the first time I witnessed her crafting these delicate morsels, her hands moving with a practiced grace that seemed to weave magic into every step. The air hung thick with the scent of melting chocolate, a symphony of sweet and bitter notes that promised pure indulgence. From that moment on, I was captivated. I spent countless hours by her side, learning the secrets of her craft, and these chocolate truffles became more than just a treat; they became a symbol of love, tradition, and the joy of sharing something truly special. Now, I’m thrilled to share this treasured recipe with you, hoping it brings the same warmth and delight to your kitchen as it did to mine. Get ready to experience the pure bliss of homemade chocolate truffles – a treat so decadent and delightful, it’s sure to become a new family favorite.
Why This Recipe Works

- Simplicity at its Finest: This recipe uses readily available ingredients and straightforward techniques, making it perfect for home cooks of all levels. Even beginners can create stunning chocolate truffles with ease.
- Intense Chocolate Flavor: This recipe highlights the rich, complex flavor of high-quality chocolate, resulting in a truly decadent experience.
- Versatile and Customizable: The basic truffle recipe serves as a blank canvas for your creativity. Experiment with different coatings and flavor infusions to create your own signature truffles.
- Perfect for Gifting: Homemade chocolate truffles make a thoughtful and impressive gift for any occasion. Package them beautifully and watch your loved ones’ faces light up with delight.
- A Truly Rewarding Experience: There’s something incredibly satisfying about crafting these elegant treats from scratch. The process is therapeutic, and the end result is pure culinary magic.
- Guaranteed to Impress: These chocolate truffles are not only delicious, but they’re also visually stunning. Their smooth, velvety texture and elegant presentation are sure to impress your guests.
Ingredients
- 1 cup heavy cream
- 8 ounces high-quality dark chocolate (at least 70% cacao), finely chopped
- 2 tablespoons unsalted butter, softened
- 1 teaspoon pure vanilla extract
- Pinch of sea salt
- Cocoa powder, for dusting
- Finely chopped nuts, sprinkles, or other desired coatings (optional)
Ingredient Notes:
- Chocolate: Invest in high-quality dark chocolate for the best flavor. The higher the cacao percentage, the more intense the chocolate flavor will be.
- Heavy Cream: The heavy cream creates a smooth, luxurious ganache. Do not substitute with milk or half-and-half.
- Butter: Adds richness and helps create a smooth, melt-in-your-mouth texture. Make sure it’s softened to room temperature for easy incorporation.
Step-by-Step Instructions
1. Creating the Ganache
Place the finely chopped dark chocolate in a heatproof bowl. In a small saucepan, heat the heavy cream over medium heat until it just begins to simmer. Do not boil. Pour the hot cream over the chopped chocolate and let it sit for a minute to melt the chocolate.
2. Whisking to Perfection
Gently whisk the chocolate and cream mixture until smooth and glossy. The ganache should be completely emulsified with no streaks of unmelted chocolate. Add the softened butter, vanilla extract, and salt. Whisk again until fully incorporated.
3. Chilling the Ganache
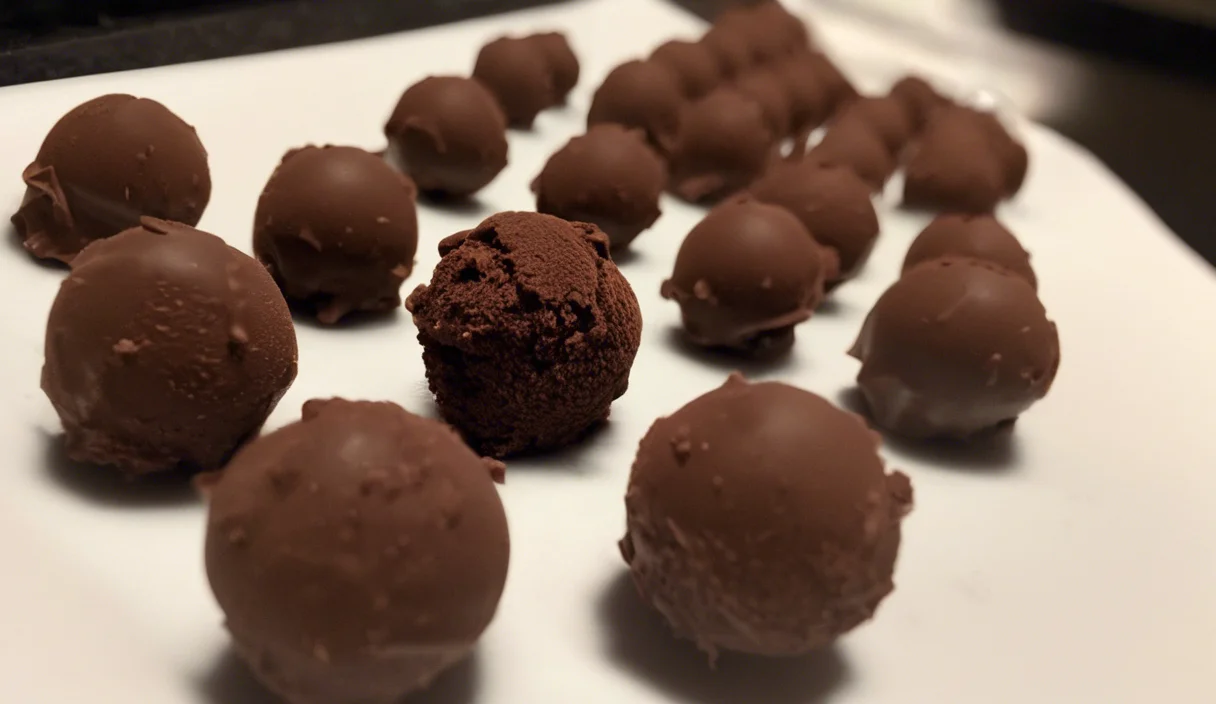
Cover the bowl with plastic wrap, pressing it directly onto the surface of the ganache to prevent a skin from forming. Refrigerate for at least 2 hours, or until the ganache is firm enough to scoop. The ganache will set beautifully, ready to be transformed into decadent truffles. Look at how smooth and rich it appears, just as depicted in our featured image.
4. Shaping the Truffles
Once the ganache is chilled, use a small spoon or a melon baller to scoop out portions and roll them between your palms to form small, round truffles. If the ganache is too sticky, lightly dust your hands with cocoa powder.
5. Coating the Truffles
Place the cocoa powder in a shallow dish. Roll each truffle in the cocoa powder until evenly coated. For a more decadent touch, you can roll the truffles in finely chopped nuts, sprinkles, or other desired coatings. Get creative and personalize your chocolate truffles!
6. Setting the Stage for Indulgence
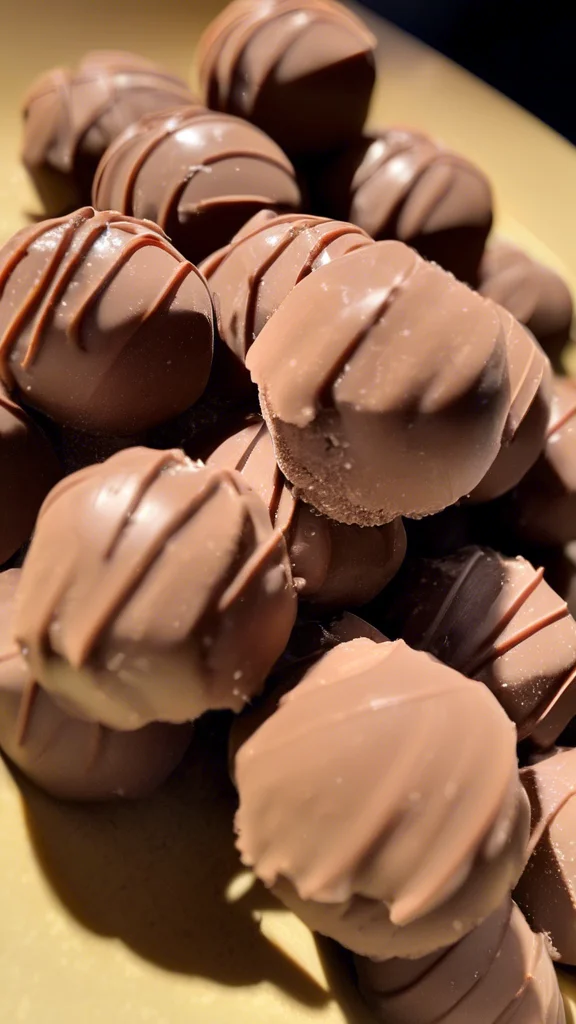
Place the coated chocolate truffles on a parchment-lined tray or plate. Refrigerate for another 30 minutes to allow the coating to set. Imagine these beautiful, perfectly formed truffles nestled together, just like in this close-up shot. Aren’t they tempting?
7. The Moment of Truth: Enjoying Your Creation
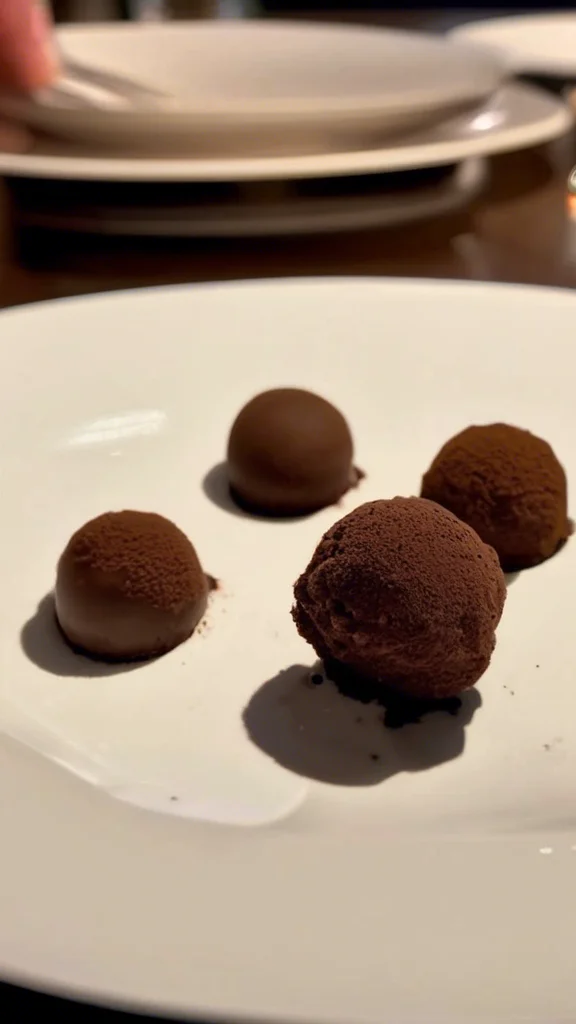
Once the chocolate truffles have set, they are ready to be enjoyed! Serve them at room temperature for the best flavor and texture. These little bites of heaven are the perfect ending to any meal or a delightful afternoon treat.
8. Storing your Chocolate Truffles
Store leftover truffles in an airtight container in the refrigerator for up to a week. Allow them to come to room temperature before serving.
Maddy’s Tips for Success
- Use the highest quality chocolate you can find. The flavor of the chocolate is the star of this show!
- Don’t overheat the heavy cream. If it boils, it can scorch and affect the flavor of the ganache.
- Be patient when chilling the ganache. It needs to be firm enough to scoop and shape.
- If the ganache is too soft to roll, chill it for a longer period. Conversely, if it’s too hard, let it soften slightly at room temperature.
- Don’t be afraid to experiment with different coatings. Get creative and have fun!
- For an extra touch of elegance, drizzle melted chocolate over the coated truffles.
- These truffles also make a wonderful gift. Package them in a pretty box and tie it with a ribbon.
Recipe Variations
- White Chocolate Truffles: Substitute white chocolate for dark chocolate and use white chocolate shavings for coating.
- Mint Chocolate Truffles: Add a few drops of peppermint extract to the ganache and roll the truffles in crushed candy canes.
- Coffee Truffles: Add a tablespoon of instant espresso powder to the ganache and roll the truffles in finely ground coffee beans.
- Orange Chocolate Truffles: Add the zest of one orange to the ganache and roll the truffles in finely grated orange zest.
- Spicy Chocolate Truffles: Add a pinch of cayenne pepper or chili powder to the ganache for a warm, spicy kick.
Serving Suggestions
- Serve with a cup of freshly brewed coffee or tea.
- Arrange on a platter with fresh berries and a dollop of whipped cream.
- Drizzle with melted chocolate and sprinkle with sea salt.
- Pack in a lunchbox for a sweet midday treat.
- Enjoy as an after-dinner dessert with a glass of dessert wine.
Join the Conversation
I’d love to hear about your chocolate truffle adventures! Share your creations and any variations you try in the comments below. Let’s inspire each other with our culinary creativity! Show off your beautiful creations – I’m sure they’ll look as stunning as the ones pictured here.
Conclusion
Creating these homemade chocolate truffles is a journey of pure culinary delight. From the rich aroma of melting chocolate to the satisfying moment of rolling the truffles in their chosen coating, every step is a celebration of flavor and craftsmanship. So gather your ingredients, put on your apron, and embark on this delicious adventure. I promise you, the reward is worth every bit of effort.
Frequently Asked Questions
- How long do chocolate truffles last? Stored properly in an airtight container in the refrigerator, chocolate truffles can last for up to a week.
- Can I freeze chocolate truffles? Yes, you can freeze chocolate truffles for up to 2 months. Wrap them tightly in plastic wrap and place them in a freezer-safe container.
- Can I use milk chocolate instead of dark chocolate? Yes, you can use milk chocolate, but the truffles will be sweeter and less intense in flavor.
- My ganache is too runny. What should I do? Refrigerate the ganache for a longer period until it firms up.
- My ganache is too hard. What should I do? Let the ganache sit at room temperature for a few minutes to soften slightly.
- Can I use other coatings besides cocoa powder? Absolutely! Get creative and experiment with chopped nuts, sprinkles, shredded coconut, or even crushed cookies.
- What if I don’t have a melon baller? You can use a small spoon or even your hands to shape the truffles. Just make sure your hands are clean and lightly dusted with cocoa powder if the ganache is sticky.