
Classic Homemade Donuts: Fluffy, Sweet, and Irresistible!
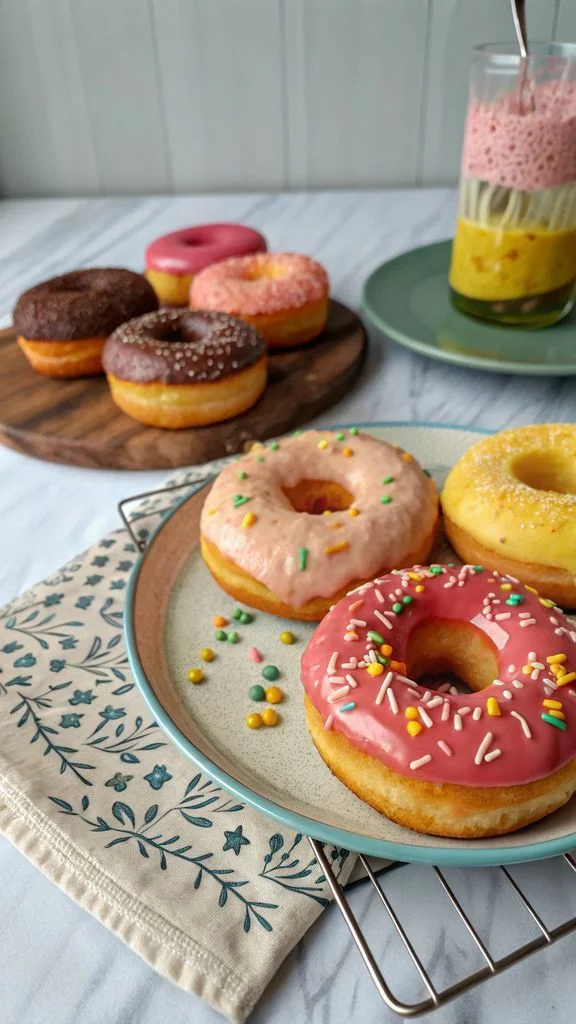
There’s something magical about a perfectly crafted donut—crisp on the outside, pillowy soft within, and kissed with sweetness. For centuries, these fried delights have transcended borders, becoming a universal symbol of comfort. The earliest iterations trace back to Dutch settlers in 17th-century America, who made “olykoeks” (oily cakes). By World War I, donuts became emblematic of home for soldiers, famously served by “Doughnut Lassies” near battlefields. Today, they’re celebrated globally: from jam-filled Berliners in Germany to syrup-soaked gulab jamun in India. What’s their enduring appeal? It’s the nostalgia of childhood bakery trips, the joy of a shared treat, and that unbeatable combination of simplicity and indulgence. Whether dunked in coffee or savored solo, a homemade donut feels like a warm hug. And trust me—once you try making them from scratch, store-bought versions just won’t compare. As you’ll see in the image below, golden, sugar-dusted rings fresh from the fryer are pure happiness on a plate.
Why You’ll Love This Recipe
- Unbeatable Freshness: Nothing rivals the melt-in-your-mouth texture of a donut made minutes ago.
- Customizable Bliss: Dress them simply with cinnamon sugar or go wild with creative glazes and toppings.
- Surprisingly Approachable: With a little patience (and this guide!), yeast dough is forgiving and rewarding.
- Crowd-Pleasing Magic: Perfect for birthdays, brunches, or “just because” days—guests will rave!
Ingredients
Exact measurements matter for ideal rise and texture. Use high-quality ingredients:
– Whole milk, warmed to 110°F (1 cup / 240ml): Activates yeast; whole milk ensures richness.
– Active dry yeast (2 ¼ tsp / 7g): Check expiration date for reliability.
– Granulated sugar (⅓ cup + 1 tsp / 70g + 5g): 1 tsp for yeast proofing, ⅓ cup for dough.
– All-purpose flour (4 cups / 500g): Spoon and level to avoid dense donuts.
– Fine sea salt (1 tsp / 6g): Balances sweetness.
– Unsalted butter, softened (6 tbsp / 85g): Adds tenderness; never use cold.
– Large eggs (2): Bring to room temperature for even mixing.
– Pure vanilla extract (2 tsp / 10ml): Enhances flavor depth.
– Vegetable oil (for frying, 6 cups / 1.4L): Neutral, high-smoke-point oils like canola or sunflower.
– Cinnamon-sugar coating (optional: 1 cup sugar + 2 tbsp cinnamon): For classic finish.
Equipment Needed
- Stand mixer with dough hook (or large bowl + wooden spoon)
- Instant-read thermometer (critical for oil/milk temps)
- Rolling pin
- 3-inch round cutter + 1-inch cutter for holes
- Heavy-bottomed Dutch oven (for stable frying)
- Spider strainer or slotted spoon
- Wire cooling racks
- Parchment paper
Step-by-Step Instructions
(Total time: 2.5 hours, including rising)
Step 1: Activate Yeast
Warm milk to 110°F—too hot kills yeast! Pour into mixer bowl, sprinkle yeast and 1 tsp sugar over milk. Let sit 5–10 minutes until frothy. If it doesn’t bubble, start over (yeast is inactive).
Step 2: Make Dough
Attach dough hook. Add remaining sugar, eggs, vanilla, and 2 cups flour. Mix on low until combined. Add softened butter in chunks. Gradually add remaining flour and salt. Knead 5–7 minutes until smooth and elastic. The dough should pull away from the bowl but remain tacky—add sprinkles of flour if too sticky.
Step 3: First Rise
Place dough in a greased bowl, cover with damp cloth. Let rise in a warm spot (e.g., turned-off oven with light on) for 1–1.5 hours, until doubled.
Step 4: Shape Donuts
Punch down dough. Roll on floured surface to ½-inch thickness. Cut rounds with 3-inch cutter, then use the small cutter for holes. Reroll scraps once. Transfer to parchment-lined trays, cover lightly, and rest 30 minutes. They’ll puff slightly—see the photo below for how they should look before frying!
Step 5: Heat Oil
Pour oil into Dutch oven until 3 inches deep. Heat over medium to 350–360°F (use thermometer!). Maintain this temp—fluctuations cause greasy or raw donuts.
Step 6: Fry
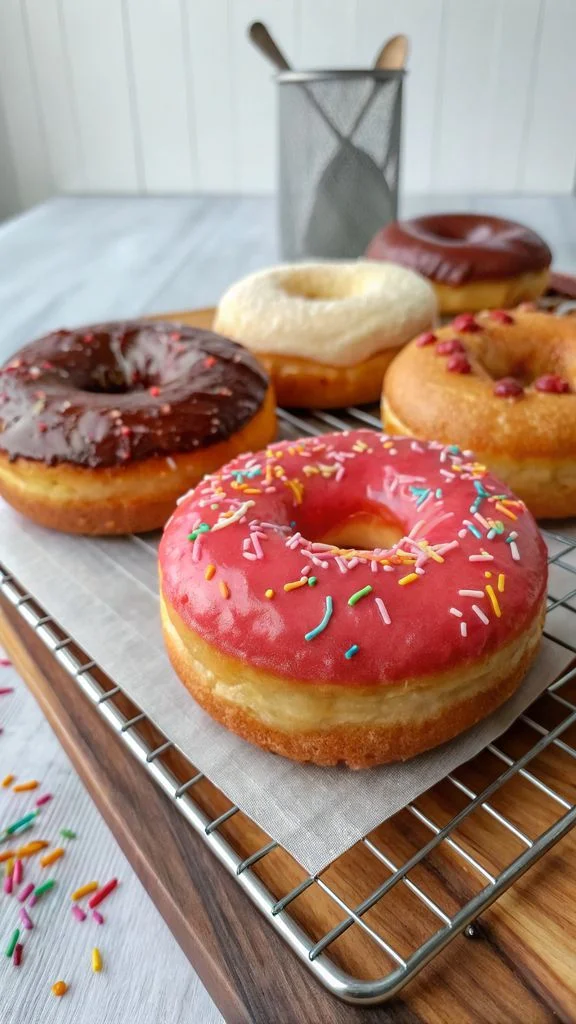
Gently slide 2–3 donuts into oil. Fry 60–90 seconds per side until golden. Don’t crowd the pot! Use a spider to flip and transfer to wire racks. Repeat, letting oil reheat between batches.
Step 7: Drain & Coat
Let donuts cool 2 minutes. For cinnamon-sugar, toss while warm. For glazes, cool completely first.
Step 8: Glaze (Optional)
Whisk 2 cups powdered sugar with ¼ cup warm milk and 1 tsp vanilla. Dip cooled donuts, then decorate with sprinkles or coconut.
Tips for Perfect Results
- Yeast Love Warmth: If your kitchen is cold, place the dough bowl over a warm water bath.
- Oil Thermometer is Non-Negotiable: Even 10°F too low makes donuts absorb oil.
- Handle Gently: Overworking risen dough deflates air pockets.
- Dry Before Glazing: Any moisture creates streaks.
- Fry Hole-Side Down First: The hole cooks slower—start there for even browning.
Storage and Make-Ahead Instructions
Fresh Donuts: Consume within 8 hours for peak texture. Store uncovered at room temperature (glazed ones get sticky in containers).
Make-Ahead: Prepare dough through shaping. Cover trays tightly and refrigerate 12–24 hours. Let sit at room temp 30 minutes before frying.
Freezing: Freeze unglazed donuts in single layers, then transfer to bags for 1 month. Reheat at 350°F for 5 minutes.
Variations and Substitutions
- Chocolate Cake Donuts: Replace ½ cup flour with cocoa powder; add ½ tsp espresso powder.
- Apple Cider Donuts: Reduce milk to ¾ cup; simmer 1 cup cider until reduced to ¼ cup. Cool, then add to dough.
- Vegan: Swap milk for almond milk, eggs for ½ cup applesauce, butter for coconut oil.
- Baked Option: Brush with melted butter, bake at 375°F for 10 minutes. Less crisp, but lighter!
Maddy’s Tips for Success
From my grandma’s bakery notebook:
– Butter Temperature is Key: Too cold? Dough won’t incorporate it. Too melted? Texture suffers. Softened = indentable but not shiny.
– Rest After Rolling: Skipping the 30-minute rise leads to dense donuts.
– Fry Test: Sacrifice one donut hole to test oil temp and cook time.
– Glaze Consistency: Aim for honey-like thickness—drips slowly off a spoon.
Frequently Asked Questions
Q: Can I use instant yeast?
A: Yes! Skip the proofing step; mix directly into dry ingredients.
Q: Why did my donuts turn out tough?
A: Over-kneading or too much flour. Measure by spooning flour into cups, not scooping!
Q: Can I air-fry these?
A: Partially! Preheat air fryer to 350°F. Brush donuts with oil, cook 4–6 minutes. They won’t be as fluffy.
Q: How do I fix dough that won’t rise?
A: Yeast may be old, or milk was too hot/cold. Start over—room should be 75–80°F.
Q: What oil is best?
A: Neutral oils with high smoke points: canola, peanut, or vegetable. Avoid olive oil.
Q: Can I make filled donuts?
A: Absolutely! Skip the center hole. Cool fried donuts, then inject jam or custard with a piping bag.
Nutrition Information
Donuts are a treat—enjoy mindfully! One classic donut (no glaze) has ~250 calories, 4g protein, and 12g fat. Key perks: carbs for quick energy, and homemade versions skip preservatives. Balance with fresh fruit or protein-rich sides!
Serving Suggestions
- Brunch Board: Arrange donuts with fresh berries, Greek yogurt, and turkey bacon for sweet-savory balance.
- Coffee Pairing: Dunk into a dark roast or matcha latte—bitterness contrasts the sweetness.
- Dessert Platter: Slice horizontally, layer with vanilla ice cream, and drizzle caramel for “donut sundaes.”
There you have it—the ultimate homemade donut guide! Share your creations using #MaddysDonutMagic. Remember, as the image above shows, a little floury mess leads to golden rewards. Happy frying! 🍩
Printable Recipe Card
Want just the essential recipe details without scrolling through the article? Get our printable recipe card with just the ingredients and instructions.