
The Ultimate Homemade Mocha Coffee Ice Cream Recipe You Need to Try!
Hello, my Taste Buds! Maddy here, and today I’m sharing a recipe that’s as close to my heart as a warm hug on a chilly day: homemade Mocha Coffee Ice Cream. This isn’t just any ice cream; it’s a symphony of rich coffee, decadent chocolate, and creamy sweetness. If you’re a coffee lover, a chocolate enthusiast, or simply appreciate a truly exceptional frozen treat, you’ve come to the right place. This Mocha Coffee Ice Cream recipe is about to become your new favorite dessert. Get ready to experience the magic of a scoop (or two!) of pure bliss.
Introduction
My love for Mocha Coffee Ice Cream started on a crisp autumn afternoon at my grandmother’s house. The aroma of freshly brewed coffee mingled with the sweet scent of melting chocolate, creating an irresistible symphony that drew me into her cozy kitchen. She was making her signature Mocha Coffee Ice Cream, a family tradition passed down through generations. Watching her whisk together the ingredients, her hands moving with practiced ease, instilled in me a deep appreciation for the art of homemade desserts. This recipe is my homage to her, a tribute to the simple yet profound joy of creating something truly special. This Mocha Coffee Ice Cream isn’t just a dessert; it’s a memory, a feeling, an experience. And now, I’m thrilled to share this cherished recipe with you, my Taste Buds. Get ready to embark on a culinary adventure that will tantalize your taste buds and leave you craving more.
Why This Recipe Works
- Unbelievably Creamy Texture: This Mocha Coffee Ice Cream recipe results in a luxuriously smooth and creamy texture that melts in your mouth.
- Intense Mocha Flavor: The perfect balance of coffee and chocolate creates a rich, decadent flavor profile that’s simply irresistible.
- Easy to Make: No fancy equipment or complicated techniques are required. This recipe is accessible to home cooks of all levels.
- Customizable: Feel free to adjust the coffee and chocolate levels to suit your preferences. You can even add your favorite mix-ins!
- Perfect for Any Occasion: Whether it’s a casual weeknight treat or a special occasion dessert, this Mocha Coffee Ice Cream is always a hit.
- Made with Love: The most important ingredient in any recipe is love, and this Mocha Coffee Ice Cream is made with a whole lot of it!
Ingredients
- 2 cups heavy cream
- 1 cup whole milk
- ¾ cup granulated sugar
- ¼ cup unsweetened cocoa powder, high-quality recommended
- 2 tablespoons finely ground espresso or strong coffee beans
- 1 teaspoon pure vanilla extract
- Pinch of salt
- Optional: Chocolate shavings, coffee beans, or whipped cream for garnish
Note: Using high-quality cocoa powder and freshly ground coffee beans will significantly enhance the flavor of your Mocha Coffee Ice Cream.
Step-by-Step Instructions
Step 1: Infuse the Milk and Cream
In a medium saucepan, combine the heavy cream, whole milk, and ground coffee. Heat over medium heat, stirring occasionally, until the mixture is just simmering. Do not boil. Remove from heat and let steep for 30 minutes, allowing the coffee flavor to infuse the milk and cream. Imagine that rich coffee aroma permeating the air – it’s a preview of the deliciousness to come!
Step 2: Whisk in the Sugar and Cocoa Powder
After steeping, whisk in the granulated sugar and cocoa powder until completely dissolved and smooth. Ensure no lumps remain. This step is crucial for achieving a velvety smooth Mocha Coffee Ice Cream.
Step 3: Add Vanilla and Salt
Stir in the vanilla extract and a pinch of salt. The vanilla enhances the overall flavor profile, while the salt balances the sweetness and brings out the richness of the chocolate and coffee.
Step 4: Chill the Mixture
Pour the mixture into a bowl, cover, and refrigerate for at least 4 hours, or preferably overnight. Chilling allows the flavors to meld and ensures the ice cream freezes properly.
Step 5: Churn the Ice Cream
Once the mixture is thoroughly chilled, pour it into your ice cream maker and churn according to the manufacturer’s instructions. This usually takes around 20-30 minutes. You’ll see the mixture transform from a liquid to a soft, creamy consistency – the magic of ice cream making!
Step 6: Transfer to a Freezer-Safe Container
Transfer the churned Mocha Coffee Ice Cream to a freezer-safe container. Press a piece of parchment paper directly onto the surface of the ice cream to prevent ice crystals from forming.
Step 7: Freeze for a Firmer Texture
Freeze for at least 2-3 hours to allow the ice cream to harden completely. This creates that perfect scoopable texture we all love.
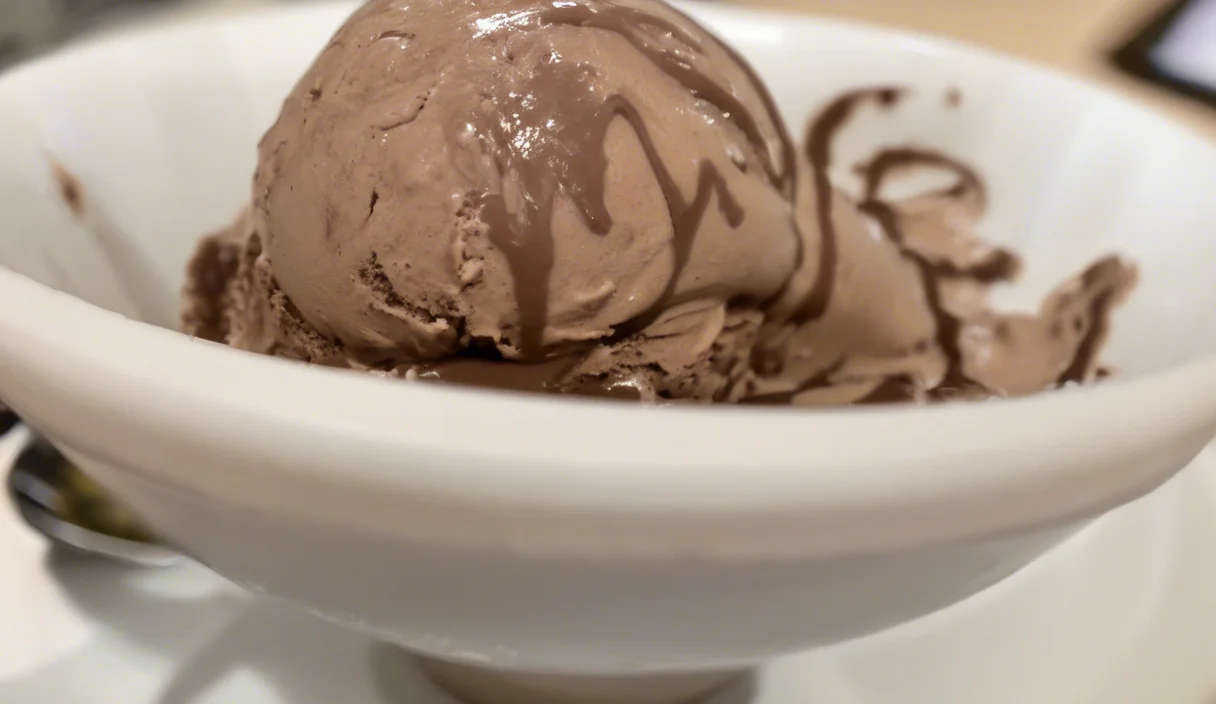
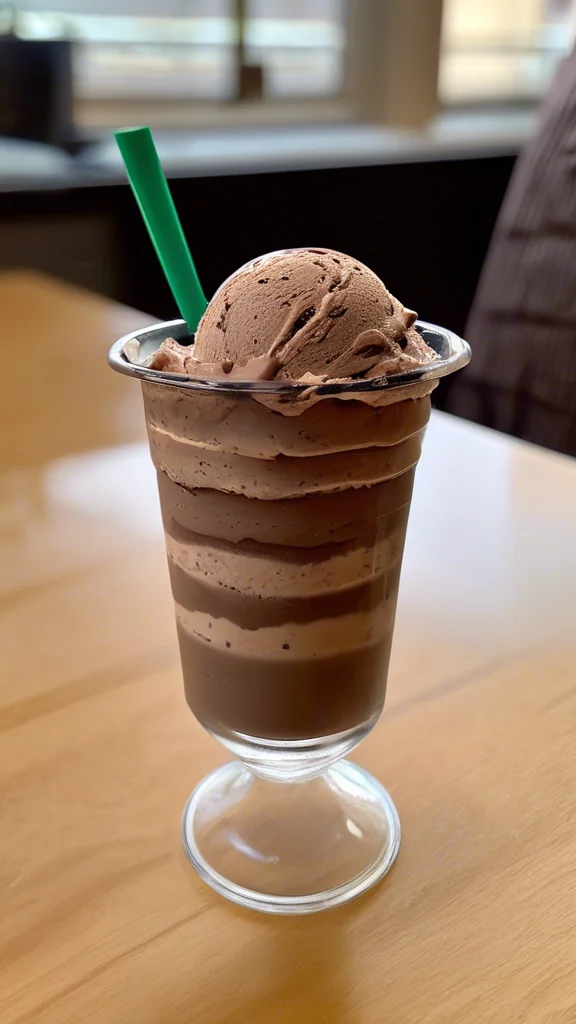
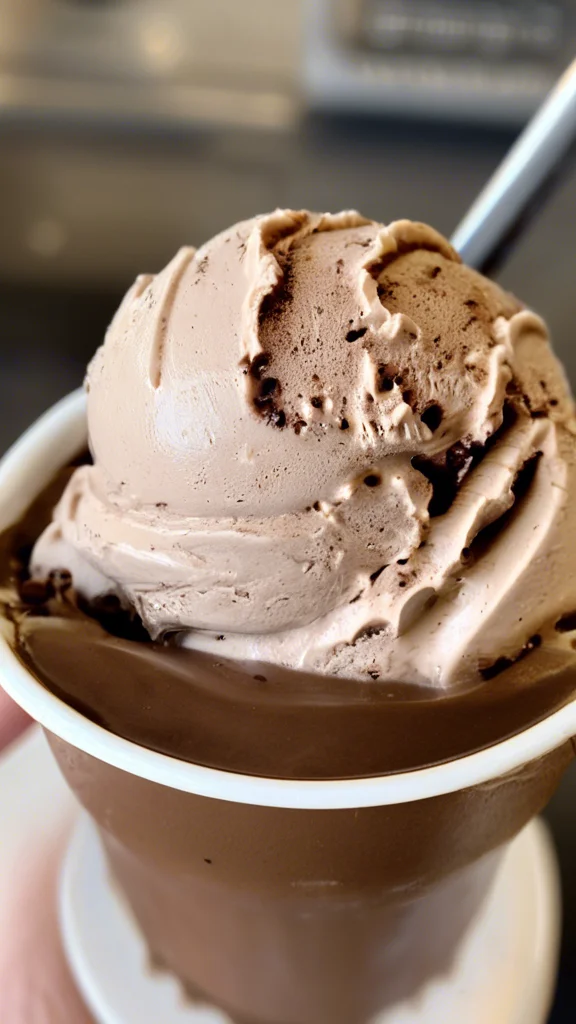
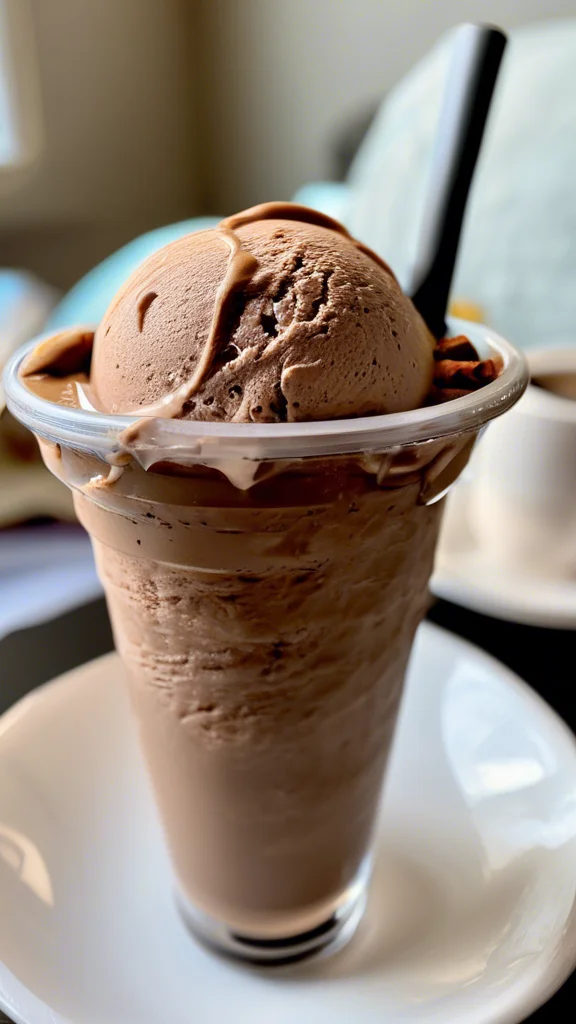
Step 8: Scoop and Enjoy!
Once frozen, scoop your homemade Mocha Coffee Ice Cream into bowls or cones. Garnish with your favorite toppings, if desired. The rich, swirling colors of this ice cream are a feast for the eyes – you can almost taste the coffee and chocolate just by looking at it, as our image captures beautifully.
Maddy’s Tips for Success
- Use High-Quality Ingredients: As mentioned earlier, using high-quality cocoa powder and freshly ground coffee beans makes a noticeable difference in the flavor of your Mocha Coffee Ice Cream.
- Don’t Over-Churn: Over-churning can result in a grainy texture. Churn just until the ice cream reaches a soft-serve consistency.
- Chill Thoroughly: Chilling the mixture overnight is highly recommended for optimal flavor and texture.
- Proper Storage: Store your Mocha Coffee Ice Cream in an airtight container with parchment paper pressed onto the surface to prevent ice crystals.
- Get Creative with Toppings: Don’t be afraid to experiment with different toppings! Chocolate shavings, chopped nuts, whipped cream, and a drizzle of chocolate sauce are all delicious options.
- Taste and Adjust: Before churning, taste the ice cream base and adjust the sweetness or coffee/chocolate intensity to your liking.
- Have Fun! Making ice cream should be enjoyable. Relax, embrace the process, and enjoy the delicious results.
Recipe Variations
- White Chocolate Mocha: Substitute white chocolate chips for the cocoa powder for a sweeter, creamier variation.
- Mint Mocha: Add a few drops of peppermint extract to the ice cream base for a refreshing twist.
- Spiced Mocha: Incorporate a pinch of cinnamon or nutmeg for a warm, spiced flavor.
Serving Suggestions
- Serve in waffle cones with a drizzle of chocolate sauce.
- Layer with brownies or chocolate cake for a decadent dessert.
- Enjoy in a bowl with a dollop of whipped cream and a sprinkle of cocoa powder.
Join the Conversation
I’d love to hear your thoughts on this Mocha Coffee Ice Cream recipe! Share your photos and experiences with me on social media using #TasteBudsApproved.
Conclusion
So there you have it, my Taste Buds – the ultimate homemade Mocha Coffee Ice Cream recipe! I hope you enjoy making and sharing this delicious treat as much as I do. It’s the perfect way to indulge your sweet tooth and celebrate the simple pleasures of life.
Frequently Asked Questions
- Can I use decaf coffee? Absolutely! Decaf coffee works perfectly in this recipe.
- Can I make this without an ice cream maker? While an ice cream maker yields the best results, you can make a no-churn version by freezing the mixture in a shallow dish and whisking it every few hours until frozen.
- How long can I store the ice cream? Store your Mocha Coffee Ice Cream in the freezer for up to 2 weeks for optimal flavor and texture.
- Can I substitute the heavy cream? You can use half-and-half or whole milk, but the texture will be less creamy.
- What if my ice cream is too icy? This can happen if the ice cream base wasn’t chilled thoroughly enough or if it was over-churned. Make sure to chill the base completely and churn just until it reaches a soft-serve consistency.
- Can I add other mix-ins? Yes! Feel free to add your favorite mix-ins, such as chocolate chips, chopped nuts, or even cookie crumbles.
- My ice cream is too soft. What should I do? Simply freeze it for a longer period. The ideal texture is firm but scoopable. Remember that picture of the perfectly scooped ice cream? That’s the texture you’re aiming for!