One Pot Tuna Helper with Spring Vegetables
This one pot tuna helper brings a vibrant mix of spring vegetables to your table, offering an easy, delicious meal in no time.
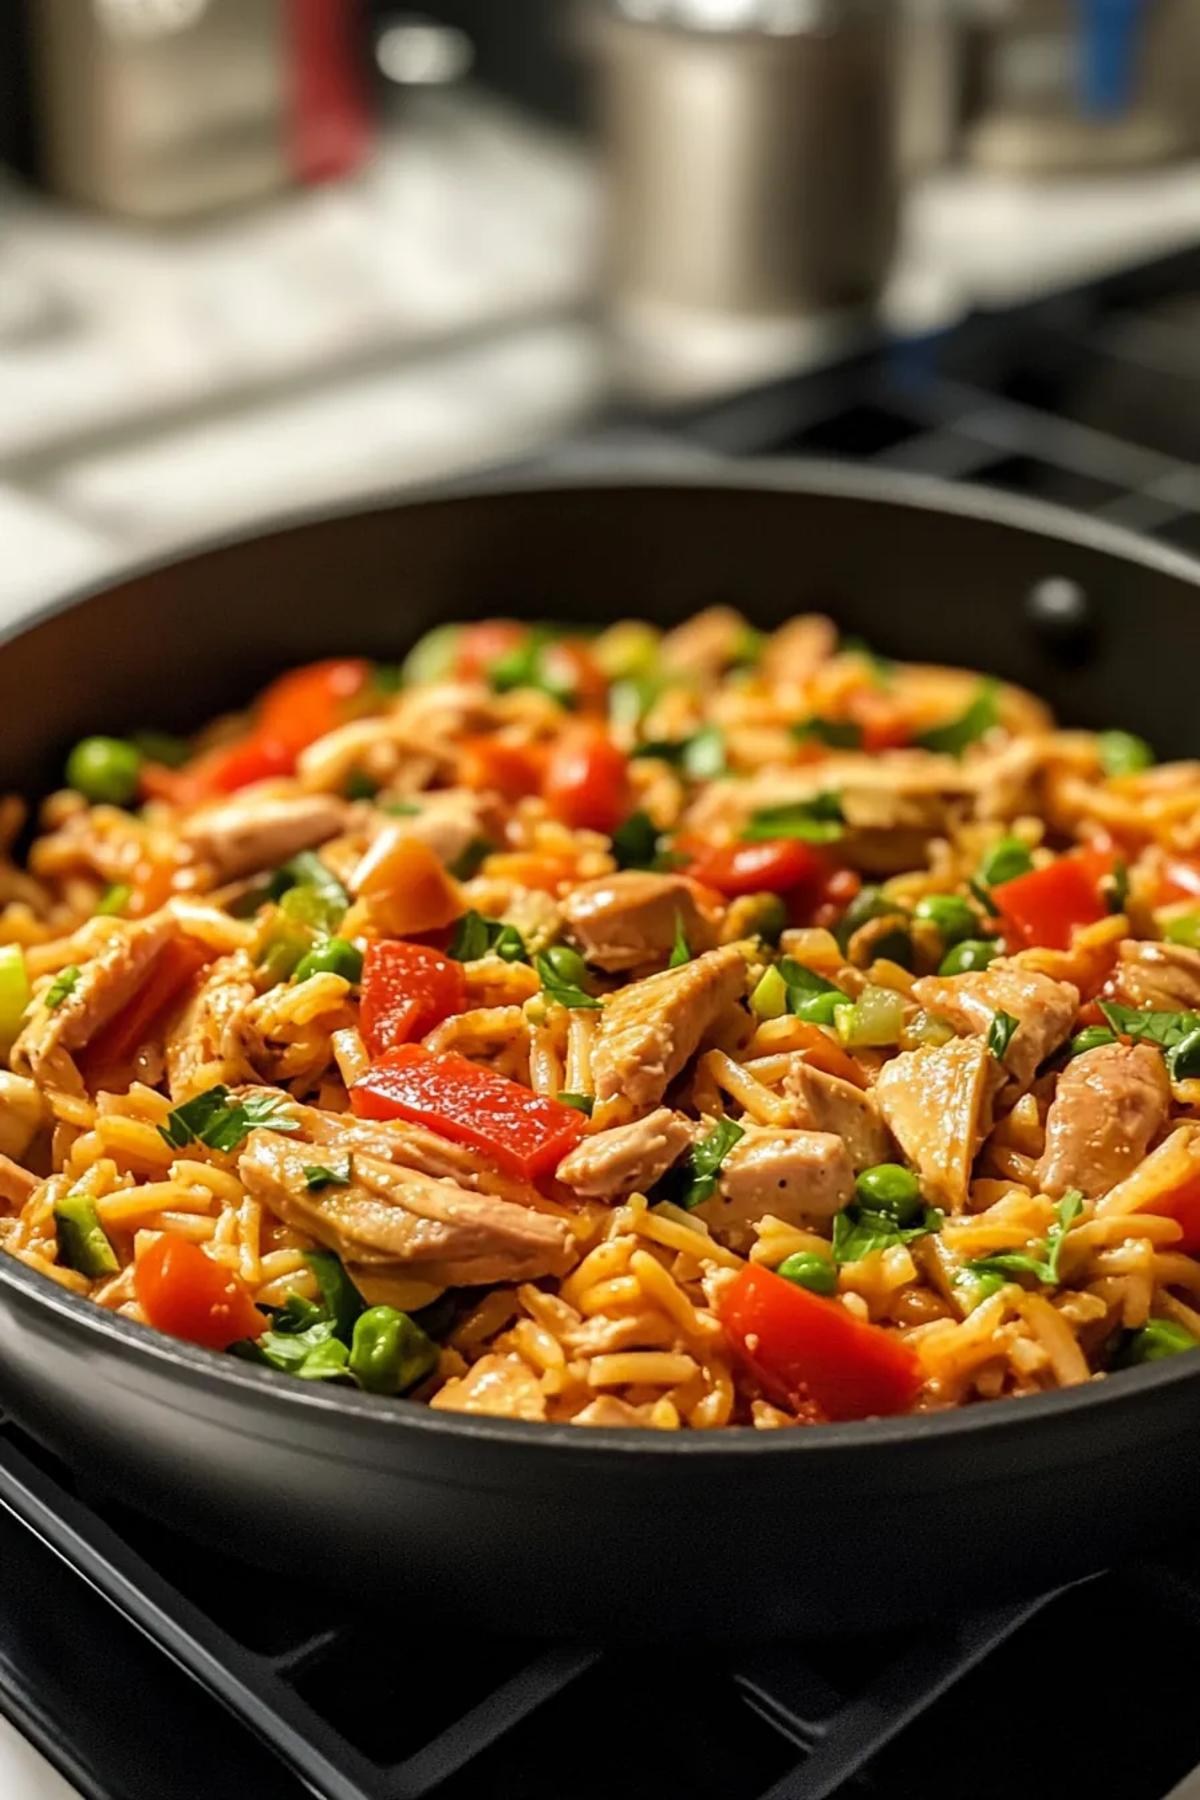
Table of Contents
Growing up by the coast, my mother often whipped up simple, hearty meals that brought the family together. This one pot tuna helper is reminiscent of those moments, combining pantry staples with the fresh vibrancy of spring vegetables. It was during a bustling weeknight when I first crafted this dish, eager to bring nostalgia and nourishment to my dinner table.
Much like my classic sourdough bread, this recipe is about comfort and ease. The gentle simmering of tuna and pasta in a single pot fills the kitchen with an aroma that transports me back to those cherished evenings.
Why This Recipe Works
Chef's Technique
The beauty of a one pot dish lies in the layers of flavor that develop as ingredients cook together. For this one pot tuna helper, the key is starting with a gentle sauté of aromatics. The onions and garlic are diced finely, releasing their flavor as they soften and become translucent.
Adding the pasta directly into the pot allows it to absorb the flavorful broth, creating a dish that is both rich and cohesive. The starch from the pasta acts as a natural thickener, giving the sauce a creamy texture that clings to each bite. Ensuring that the pot remains covered during cooking helps trap steam, which is crucial for the pasta to cook evenly.
This method, much like in my creamy mushroom risotto, ensures that every element of the dish is infused with flavor, delivering a satisfying meal straight from the stovetop.
Testing Tip
To ensure your one pot tuna helper turns out perfectly every time, use a wide, heavy-bottomed skillet for even heat distribution. This helps prevent the pasta from sticking to the bottom and ensures even cooking. Stirring occasionally and checking the liquid level is crucial. If the pasta absorbs the broth too quickly, a splash of water or broth can be added to keep everything moist.
Remember, the final texture should be creamy but not soupy. If it looks too thick as it finishes cooking, simply add a bit more liquid and stir until you achieve the desired consistency. This tip, similar to my method in creamy mushroom risotto, ensures a luscious result every time.
Why You'll Love This Recipe
- Simple one pot cooking process
- Quick and easy preparation
- Uses pantry and fresh ingredients
- Balanced flavors and textures
- Perfect for busy weeknights
Frequently Asked Questions
Yes, you can prepare this dish ahead of time. Store it in an airtight container in the fridge for up to three days. Reheat on the stove with a splash of broth to revive its creamy texture.
Certainly! Canned chicken or leftover rotisserie chicken works well as a substitute, maintaining the protein content while providing a different flavor profile.
Simply swap regular pasta with your favorite gluten-free variety. Be sure to adjust the cooking time as needed since gluten-free pastas can vary in texture.
Serving Suggestions
Serve this one pot tuna helper with a crisp green salad and some crusty bread to soak up the creamy sauce. A glass of chilled white wine complements the meal beautifully.
Expert Tips
- Tip:
To ensure your one pot tuna helper turns out perfectly every time, use a wide, heavy-bottomed skillet for even heat distribution. This helps prevent the pasta from sticking to the bottom and ensures even cooking. Stirring occasionally and checking the liquid level is crucial. If the pasta absorbs the broth too quickly, a splash of water or broth can be added to keep everything moist.
Remember, the final texture should be creamy but not soupy. If it looks too thick as it finishes cooking, simply add a bit more liquid and stir until you achieve the desired consistency. This tip, similar to my method in creamy mushroom risotto, ensures a luscious result every time.
Creative Variations
Storage & Reheating
Final Thoughts
One Pot Tuna Helper with Spring Vegetables
This one pot tuna helper brings a vibrant mix of spring vegetables to your table, offering an easy, delicious meal in no time.
Ingredients
Ingredients
Instructions
Cooking Instructions
Sauté the Aromatics
Heat olive oil in a large skillet over medium heat. Add the diced onion and sauté until translucent, about 3-4 minutes. Stir in the garlic and cook for an additional minute.
Add Vegetables and Tuna
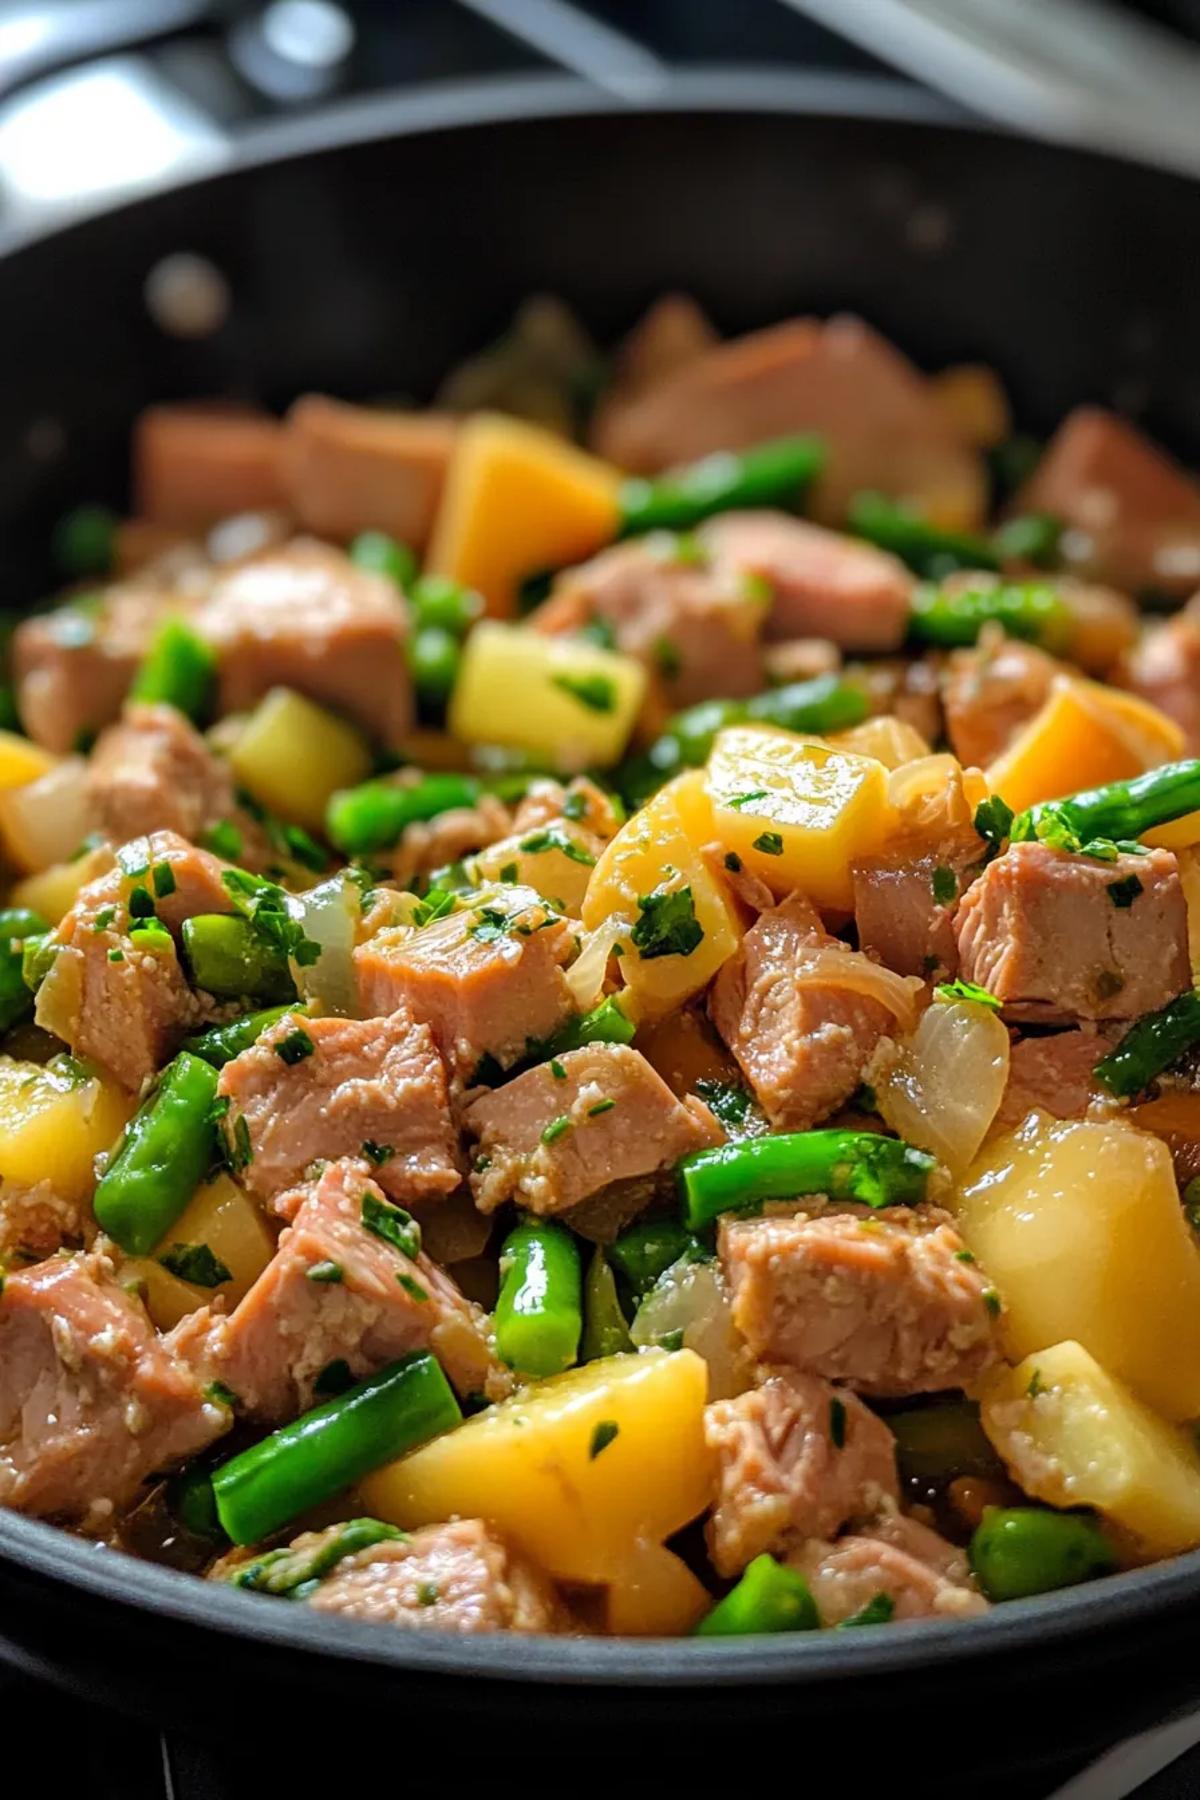
Mix in the sliced carrots and peas, cooking until the carrots begin to soften. Gently fold in the drained tuna, breaking it up slightly as you stir.
Simmer with Pasta
Add the pasta and pour in the chicken broth. Season with salt and pepper. Bring to a boil, then reduce heat to low, cover, and simmer for 15 minutes, stirring occasionally.
Finish and Serve
Once the pasta is tender, stir in the grated Parmesan cheese until melted and creamy. Remove from heat and sprinkle with fresh parsley before serving.
Tools Needed
- Large skillet
- Wooden spoon
- Measuring cups
Allergy Info
Contains fish, gluten, and dairy